
Pet Photo Tips for Perfect Personalised Portraits
Every British pet owner knows the excitement of wanting a cherished photo that truly showcases their furry friend’s personality. Finding ways to help your pet feel at ease while capturing their best moments matters, especially when you are preparing for a custom portrait. With a few creative tips—like using natural light and crafting a calm, familiar setting—you can transform ordinary snaps into keepsakes your family will treasure.
Table of Contents
- Step 1: Prepare Your Pet And Surroundings
- Step 2: Set Up Natural Lighting And Safe Spaces
- Step 3: Position Your Camera For Best Results
- Step 4: Engage Your Pet With Favourite Toys Or Treats
- Step 5: Check And Select Your Best Shots
Quick Summary
| Key Point | Explanation |
|---|---|
| 1. Create a familiar environment | Select a secure location where your pet feels comfortable to minimise anxiety and capture natural expressions. |
| 2. Use optimal lighting | Soft, diffused natural light enhances visual appeal; avoid harsh shadows by shooting at the right times. |
| 3. Position the camera at eye level | Photographing at your pet’s eye level fosters connection and engagement, showcasing their true personality. |
| 4. Engage your pet with toys or treats | Use familiar toys or treats to elicit genuine reactions, making the session enjoyable and interactive. |
| 5. Carefully select your final shots | Review images critically on a large screen to choose the best portraits that reflect your pet’s character. |
Step 1: Prepare your pet and surroundings
Capturing the perfect personalised pet portrait requires thoughtful preparation that helps your furry companion feel comfortable and relaxed. The key is creating an environment that minimises stress and maximises your pet’s natural personality. Understanding pet photography techniques can make a significant difference in your portrait outcome.
Begin by selecting a familiar location where your pet feels secure. Remove potential distractions like toys, other pets, or noisy electronics that might disrupt their focus. Ensure the background is clean and uncluttered, allowing your pet to be the primary visual element. If shooting indoors, choose a space with soft, natural lighting that highlights your pet’s features without creating harsh shadows. For outdoor settings, pick a quiet area with consistent lighting and minimal background movement.
Groom your pet before the photoshoot to ensure they look their best. Brush their coat thoroughly, clean any eye or ear areas, and trim nails if needed. A well-groomed pet not only photographs better but also feels more comfortable and confident. Aim to schedule your photoshoot during a time when your pet is typically calm and receptive.
Here’s a summary of pet portrait preparation actions and their impact:
| Preparation Step | Purpose | Positive Effect on Photos |
|---|---|---|
| Choose familiar location | Reduces pet anxiety | More natural expressions |
| Remove distractions | Helps pet focus | Clear subject focus |
| Use soft natural light | Flattering illumination | Enhanced visual appeal |
| Groom pet thoroughly | Improves pet comfort | Healthier appearance |
Expert Advice: Bring your pet’s favourite treats and maintain a relaxed demeanour to help them stay calm and engaged during the portrait session.
Step 2: Set up natural lighting and safe spaces
Capturing stunning pet portraits relies on creating the right environment with optimal lighting and secure surroundings. Natural lighting techniques are crucial for achieving professional looking images that showcase your pet’s true character.
Choose your photography location carefully, prioritising spaces that offer soft, diffused natural light. Early morning and late afternoon provide the most flattering illumination, with gentle sunlight that highlights your pet’s features without creating harsh shadows. Indoor spaces near large windows work wonderfully, while outdoor locations like shaded garden areas or quiet patios can offer excellent natural lighting conditions. Ensure the chosen space is completely secure and free from potential hazards like sharp objects, steep drops, or escape routes that might distract or endanger your pet.
Position your pet strategically to maximise the natural light, allowing it to gently illuminate their fur and eyes. Avoid direct sunlight, which can create unflattering glare, and instead seek out areas with soft ambient light. If shooting indoors, use sheer curtains to filter bright sunlight and create a soft, even illumination that flatters your pet’s features.
Expert Advice: Always scout your photography location in advance to check for potential distractions or safety issues that could disrupt your pet portrait session.
Step 3: Position your camera for best results
Creating a memorable pet portrait requires mastering camera positioning and understanding how different angles can capture your pet’s unique personality. Camera positioning techniques are essential for producing engaging and professional looking images.
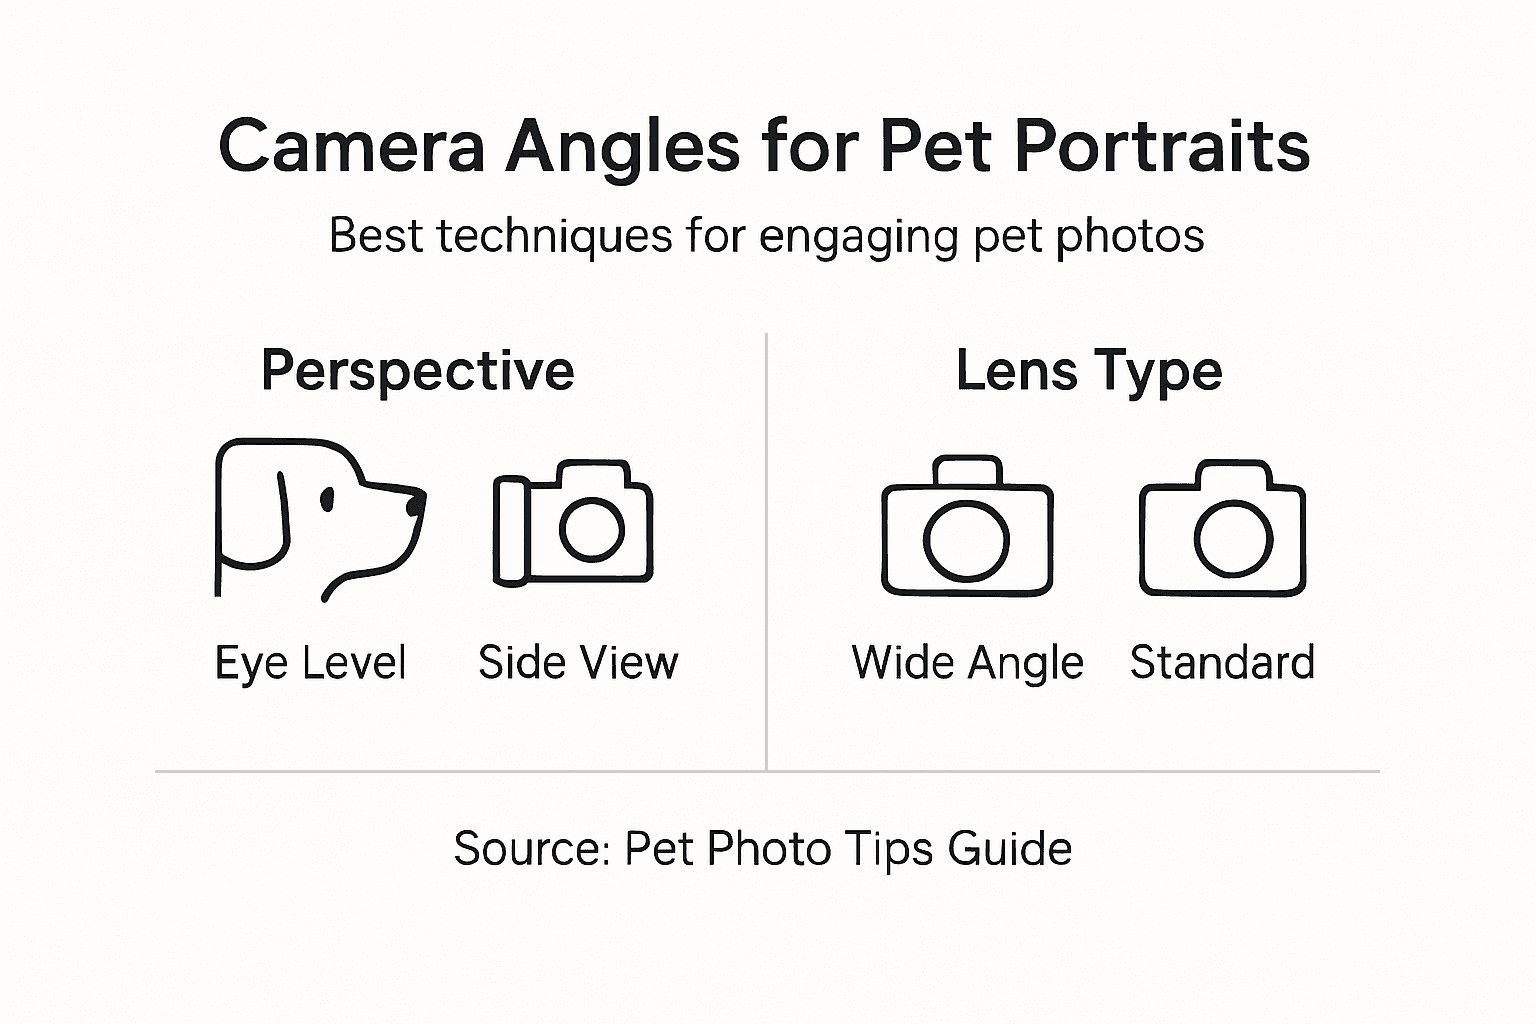
The most crucial aspect of pet photography is getting down to your pet’s eye level. This perspective creates an intimate connection and allows viewers to see the world from your pet’s viewpoint. When photographing smaller pets like cats or small dogs, you might need to kneel or even lie down to achieve the right angle. For larger animals, adjust your stance to match their natural eye line. Use continuous autofocus to keep your pet sharply defined, especially if they are likely to move around during the shoot.
Experiment with multiple perspectives to add variety and interest to your portrait collection. Wide-angle lenses can capture environmental context and show your pet in their natural habitat, while telephoto lenses allow you to capture candid moments from a distance without disturbing your pet’s behaviour. Pay attention to your shutter speed and aim for at least 1/500 of a second to freeze motion and ensure crisp, clear images that showcase your pet’s personality.
Here’s how camera techniques influence pet portraits:
| Camera Technique | Typical Use | Visual Outcome |
|---|---|---|
| Eye-level positioning | Engages pet directly | Strong emotional impact |
| Wide-angle lens | Context/environment | Natural habitat included |
| Telephoto lens | Distant candid shots | Unposed, relaxed images |
| Fast shutter speed | Movement shots | Crisp, dynamic images |
Expert Advice: Practice moving smoothly and quietly during your photoshoot to prevent startling your pet and disrupting their natural behaviour.
Step 4: Engage your pet with favourite toys or treats
Crafting the perfect pet portrait requires more than technical skills it demands capturing your pet’s genuine personality and most authentic moments. Pet engagement techniques can transform an ordinary photoshoot into a memorable experience that showcases your pet’s true character.
Bring out your pet’s favourite toys strategically to capture their attention and encourage natural expressions. Select items that typically generate excitement like squeaky toys, balls, or special treats that will provoke genuine reactions. Position these carefully within your shooting area to create spontaneous moments of interaction. Some pets respond better to specific sounds or visual stimuli, so experiment with different approaches to discover what sparks their curiosity and generates the most engaging responses.
Remember that patience is crucial during pet photography. Allow your pet to feel comfortable and relaxed, using treats as gentle motivators rather than forceful distractions. Involve yourself in the photoshoot by creating playful interactions that feel natural and unstaged. Your own energy and enthusiasm can significantly influence your pet’s willingness to participate and produce wonderful photographic moments.
Expert Advice: Keep treats small and use them sparingly to maintain your pet’s interest without causing distraction or overfeeding.
Step 5: Check and select your best shots
Selecting the perfect pet portrait requires a discerning eye and a strategic approach to reviewing your photographic collection. Photo selection strategies can transform a good image into an extraordinary memento of your beloved companion.
Begin by reviewing your photographs on a large screen where details become more apparent. Look for images that showcase your pet’s unique personality and capture genuine expressions. Focus on technical aspects such as sharpness of focus, lighting quality, and composition. Consider images where your pet’s eyes are clear and engaging, their body posture looks natural, and the background complements rather than distracts from their presence.
Use digital sorting tools or create a simple rating system to narrow down your selection. Mark images with a star or colour code them based on specific criteria like emotional impact, technical quality, or storytelling potential. Do not rush this process eliminate images with blurred motion, unflattering angles, or distracting background elements. Your goal is to curate a collection that truly represents your pet’s character and creates a lasting visual memory.
Expert Advice: Take breaks between review sessions to maintain objectivity and prevent visual fatigue when selecting your final pet portrait images.
Transform Your Pet Photos into Timeless Keepsakes
Capturing the perfect personalised pet portrait involves careful preparation, natural lighting techniques and engaging your pet to reveal their true character. If you have followed the essential steps to prepare your furry friend and take stunning photos, now it is time to elevate those beautiful shots into a professional artwork that lasts a lifetime. Don’t let your pet’s unique personality fade away in your camera roll when you can immortalise their charm with custom portraits from The Family Portrait Company.

Bring your pet’s captivating expressions and natural beauty into your home with our handcrafted custom pet and human portraits. Our expert artists turn your favourite photos into personalised masterpieces while preserving the emotional connection you share. Begin your journey to creating an unforgettable tribute to your beloved companion at https://familyportraitcompany.com today. Explore how easy it is to capture the perfect image and transform it into art that celebrates your pet’s spirit.
Frequently Asked Questions
How can I prepare my pet for a personalised portrait?
To prepare your pet for a personalised portrait, choose a familiar location where they feel secure. Remove distractions and groom your pet to ensure they look their best, enhancing their comfort and confidence during the photoshoot.
What lighting is best for pet portrait photography?
Soft, natural lighting is ideal for pet portrait photography. Schedule your shoot for early morning or late afternoon to capture gentle sunlight that highlights your pet’s features without harsh shadows.
What camera angles should I use to get the best pet portraits?
Get down to your pet’s eye level for the most engaging shots, as it creates an intimate connection. Experiment with different angles and use a fast shutter speed to capture crisp images that highlight your pet’s personality.
How can I keep my pet engaged during the photoshoot?
Bring your pet’s favourite toys or treats to encourage their natural expressions and interactions. Use these strategically to create spontaneous moments, allowing for a relaxed atmosphere that showcases your pet’s character.
What should I look for when selecting the best pet portrait photos?
Evaluate your photographs by reviewing them on a large screen, focusing on sharpness, lighting quality, and how well they capture your pet’s personality. Eliminate any images that do not highlight your pet’s character or have distracting backgrounds.
Recommended
- How to Prepare Portrait Photos for Custom Pet Art – The Family Portrait Companys
- 7 Easy Pet Portrait Ideas Families and Owners Will Love – The Family Portrait Companys
- 7 Creative Ideas for Pet Portrait Inspiration for Parents – The Family Portrait Companys
- How to Prepare Photos for Portraits: A Practical Guide – The Family Portrait Companys
- blog – Petswin