
How to Prepare Portrait Photos for Custom Pet Art
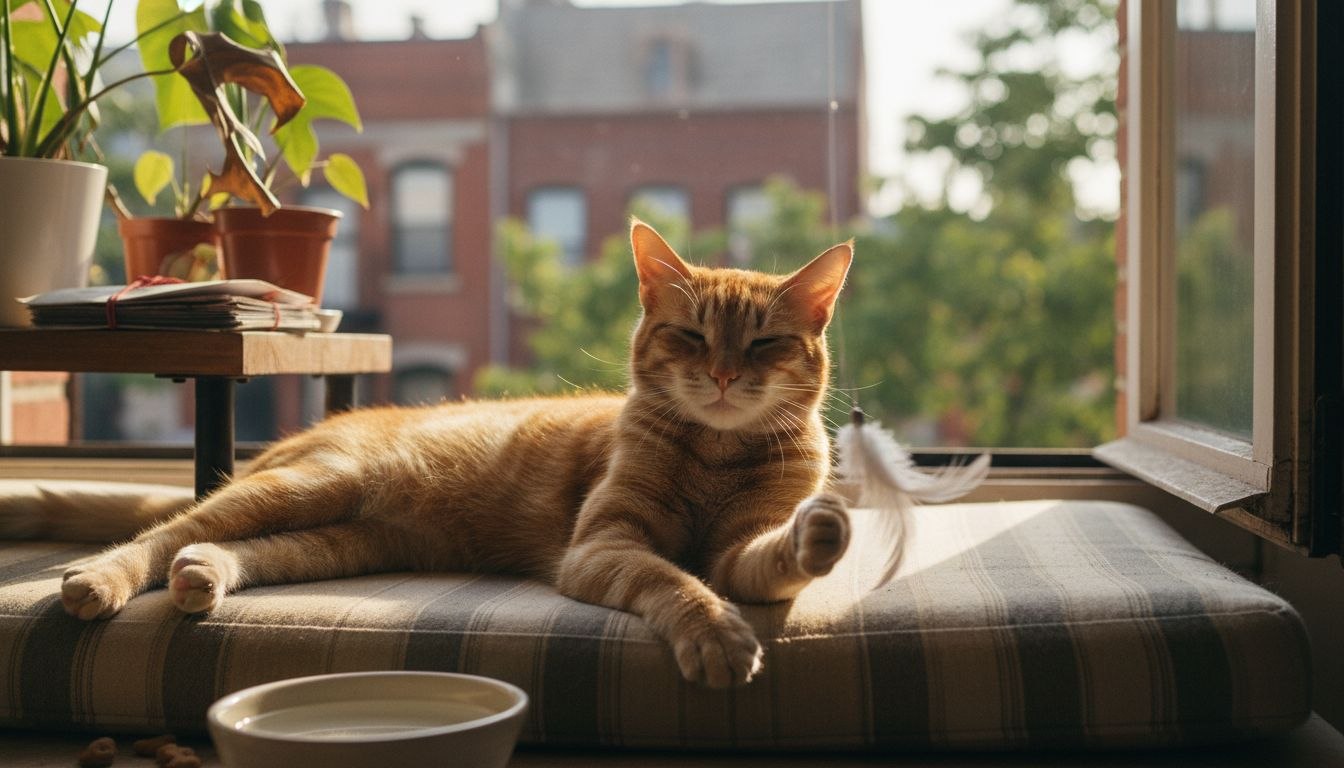
Almost one in four British households welcomes at least one pet, making meaningful portraits more than just a trend. Every British pet owner who treasures those irreplaceable moments understands that capturing personality in a photograph is both an art and a heartfelt challenge. If you want custom artwork that truly reflects your animal’s character, mastering light, setting, and timing can transform your favourite photo into a lasting masterpiece.
Table of Contents
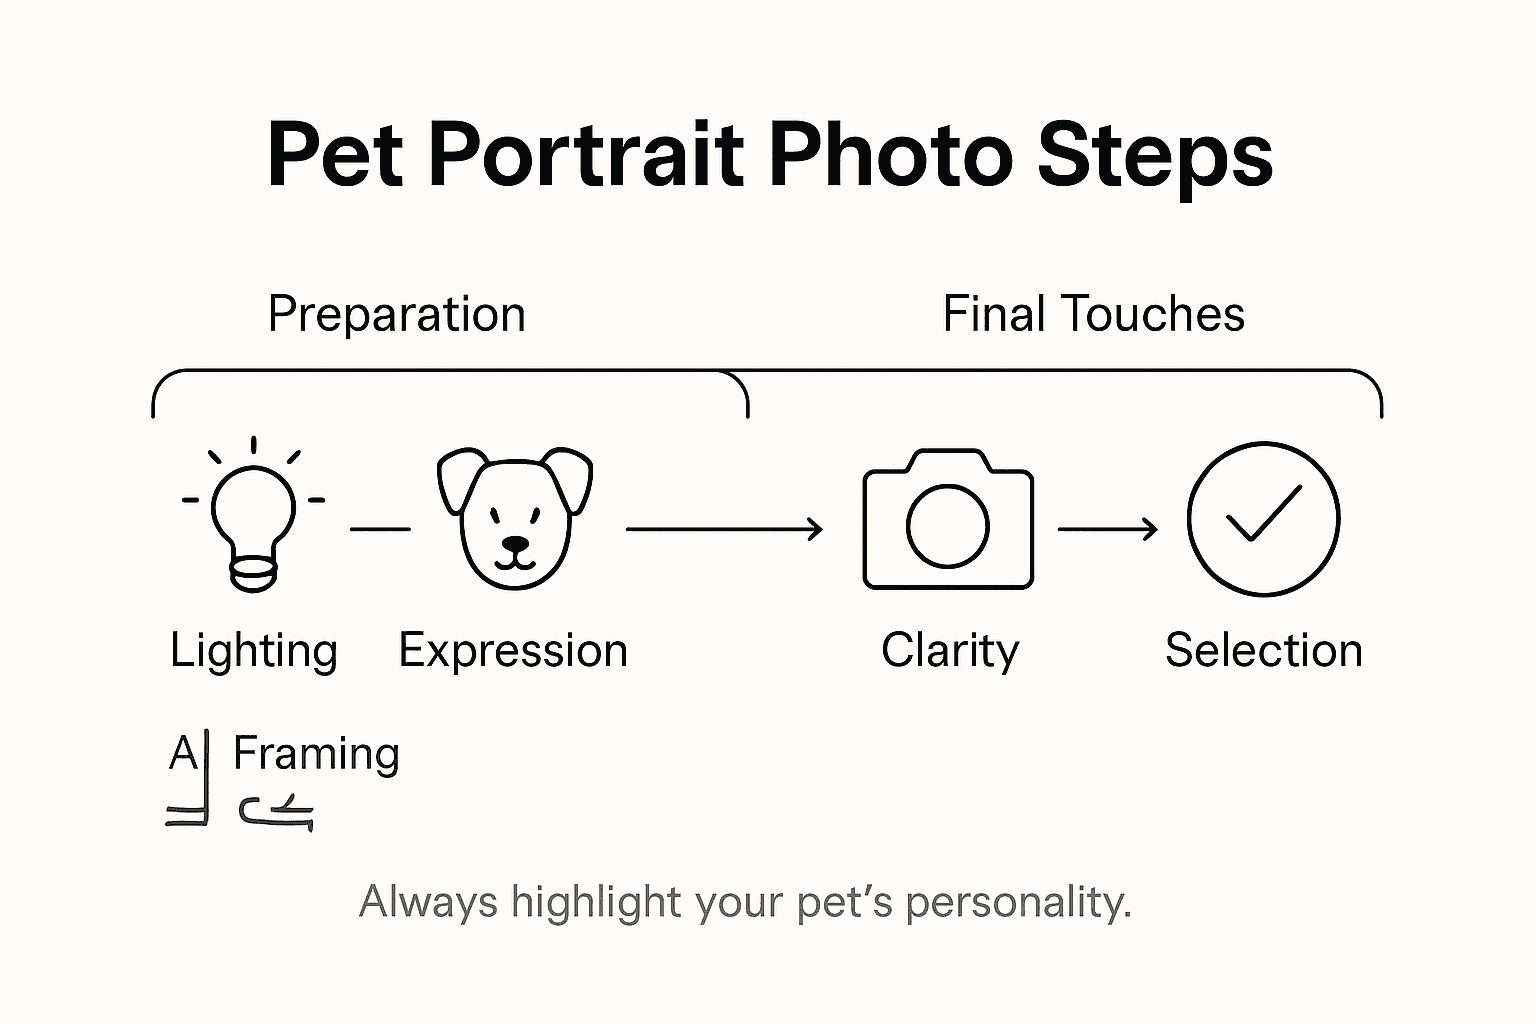
- Step 1: Choose the Best Setting and Lighting
- Step 2: Style Your Pet for Natural Expression
- Step 3: Position and Frame Your Shot Creatively
- Step 4: Capture Clear and Detailed Photos
- Step 5: Review and Select Your Top Images
Quick Summary
| Key Insight | Explanation |
|---|---|
| 1. Use Natural Light Effectively | Position pets near large windows during softer light hours to enhance their features with flattering illumination. |
| 2. Create a Comfortable Atmosphere | Use familiar settings and gentle grooming to put pets at ease for more natural expressions. |
| 3. Frame Pets at Eye Level | Capture intimate portraits by photographing at your pet’s eye level to establish a stronger connection. |
| 4. Prioritise Sharp Focus | Focus on your pet’s eyes and use appropriate camera settings to ensure clarity and engage viewers emotionally. |
| 5. Systematically Select Images | Review images for technical quality and emotional impact, selecting those that best capture your pet’s essence. |
Step 1: Choose the Best Setting and Lighting
Capturing the perfect pet portrait requires thoughtful selection of your photography setting and lighting conditions. Your goal is to create an environment that highlights your pet’s unique personality and physical features while maintaining a natural, engaging aesthetic.
Indoors, natural light near windows offers the most flattering illumination for pet photography. Position your pet near a large window with soft, diffused light streaming in preferably during morning or late afternoon when sunlight is gentler. Avoid harsh midday sunlight which creates unflattering strong shadows and can wash out your pet’s details. For dark-coated animals, overcast days or evening light work brilliantly helping capture intricate fur textures and preventing unwanted shine.
If natural light is limited, consider using a single softbox or diffused artificial light source positioned at a 45-degree angle to your pet. This technique creates dimensional shadows that add depth and visual interest to the portrait. Experiment with light height and angle to find the most flattering illumination that showcases your pet’s unique characteristics.
Professional Tip: Always do a few test shots and review them immediately to ensure the lighting captures your pet’s essence perfectly.
To clarify lighting choices for pet portraits, here’s a concise comparison:
| Lighting Type | Appearance Effect | Best For |
|---|---|---|
| Soft natural light | Gentle shadows, true tones | Most coat colours and textures |
| Overcast conditions | Even, reduced glare | Dark-furred pets |
| Diffused artificial | Controlled, soft contrast | Indoor sessions, limited daylight |
Step 2: Style Your Pet for Natural Expression
Capturing your pet’s authentic personality requires more than just pointing a camera it demands strategic preparation and understanding of your animal’s unique character. The goal is to create a portrait that genuinely reflects your pet’s spirit and individual charm.
Understanding your pet’s behavioural cues and comfort levels is crucial for obtaining natural expressions. Start by selecting a familiar environment where your pet feels relaxed and secure. Groom them gently beforehand to remove loose fur and ensure a neat appearance but avoid making them feel stressed. Choose a collar or accessory that complements their personality without restricting movement or causing discomfort.
To encourage genuine interactions, use your pet’s favourite toys or treats strategically. However, be mindful not to overstimulate them. Observe their body language carefully some pets respond best to quiet encouragement, while others might need playful engagement to reveal their true character. Allow moments of spontaneity and be prepared to capture those fleeting, authentic expressions that truly represent your pet’s unique personality.
Professional Tip: Keep photography sessions short and enjoyable your pet’s comfort and natural mood are far more important than achieving a technically perfect shot.
Step 3: Position and Frame Your Shot Creatively
Creating a memorable pet portrait goes beyond simply capturing your animal it involves crafting a visual narrative that reveals their unique personality and spirit. The art of positioning and framing transforms an ordinary snapshot into a compelling, emotive image.
Creative framing techniques involve thoughtful composition and strategic positioning that highlight your pet’s distinctive characteristics. Shoot at your pet’s eye level to create an intimate connection this perspective brings viewers directly into their world. Choose backgrounds that complement your pet’s colouring and fur texture without creating visual clutter. Natural settings such as gardens or familiar indoor spaces work brilliantly to provide context and emotional depth to the portrait.
Experiment with different angles and perspectives to discover your pet’s most expressive moments. Sometimes shooting from slightly above or below can reveal unexpected personality traits. Consider including subtle props that reflect your pet’s interests a favourite toy or blanket can add personal meaning. The key is maintaining balance ensure any additional elements enhance rather than distract from your pet’s natural beauty and character.
Professional Tip: Take multiple shots from various angles and distances your unexpected capture might become the most cherished portrait.
Step 4: Capture Clear and Detailed Photos
Transforming your pet photograph from a simple snapshot to a professional portrait requires technical skill and creative understanding. Your goal is to capture images that reveal your pet’s unique personality with exceptional clarity and emotional depth.
Sharp focus on your pet’s eyes is crucial for creating an emotionally compelling portrait. Use a fast shutter speed around 1/500 seconds to freeze natural movements and prevent blurring. When working in lower light conditions, increase your camera’s ISO settings to maintain image quality but be cautious about introducing digital noise. Modern digital cameras often have impressive low light performance that can help you capture intricate details without compromising image sharpness.
Select a camera lens that allows close focusing and provides excellent detail reproduction. Telephoto and prime lenses work brilliantly for pet photography they enable you to maintain distance while capturing intimate facial expressions. Position yourself at your pet’s eye level and use continuous autofocus modes with animal eye detection to ensure razor sharp images. Patience is key take multiple shots in quick succession to increase your chances of capturing that perfect, crisp moment that truly represents your pet’s spirit.
Professional Tip: Always review your images immediately after shooting to check focus and adjust camera settings in real time.
Step 5: Review and Select Your Top Images
Transforming a collection of pet photographs into a stunning portrait requires a discerning eye and strategic selection process. Your ultimate goal is to identify images that capture your pet’s true essence and emotional depth.
Choosing the best portrait photo demands more than technical perfection it requires an emotional connection. Begin by viewing your photographs on a large screen where details become more apparent. Look for images that showcase your pet’s personality moments that reveal their character through expressions, posture, and natural interactions.
Apply a systematic approach to image selection. Create a shortlist by first eliminating photographs with technical flaws those with blurred details, awkward positioning, or poor lighting. Then narrow down your selection by emotional impact. Prioritise images where your pet’s eyes are sharp and engaging these capture the most authentic connection. Consider the composition look for balanced framing, interesting backgrounds, and poses that feel natural and unforced. Trust your instincts the perfect image will resonate with you emotionally and visually.
Here’s a quick reference for image selection priorities when reviewing pet portraits:
| Selection Step | What to Check | Reason |
|---|---|---|
| Technical sharpness | Eyes in clear focus | Ensures emotional engagement |
| Lighting and exposure | Even, flattering illumination | Highlights pet’s features |
| Expression and posture | Natural, engaging behaviour | Captures personality |
| Composition balance | Clean, non-distracting layout | Maintains visual focus |
Professional Tip: Always select multiple strong images this gives you flexibility and ensures you have backup options for your custom pet portrait.
Bring Your Perfect Pet Portrait to Life with Expert Custom Art
Preparing your pet for a stunning portrait can feel overwhelming with so many lighting, positioning and expression details to consider. This article highlights the challenge of capturing your pet’s true personality through carefully selected photos that showcase natural lighting, clear focus and engaging framing. The key goal is to create images that speak to your pet’s unique charm and evoke genuine emotion.
At The Family Portrait Company, we understand how important these details are when turning your carefully prepared photos into beautiful custom pet art. Explore our collection to see how your favourite images can be transformed into timeless artwork.

Don’t let your perfect pet expressions stay hidden in your camera roll. Visit https://familyportraitcompany.com today to upload your best photos and create personalised pet portraits that capture every nuance you worked so hard to photograph. Start your journey from cherished images to stunning custom portraits now.
Frequently Asked Questions
How can I choose the best lighting for my pet portrait photos?
To achieve the best results, use natural light near a window during the morning or late afternoon. Position your pet so that soft, diffused light illuminates them, reducing harsh shadows and highlighting their unique features.
What techniques should I use to capture my pet’s natural personality in photos?
Encourage genuine expressions by photographing your pet in a familiar environment where they feel safe. Use their favourite toys or treats to engage them without causing stress, allowing for natural interactions that showcase their true character.
How do I creatively position and frame my shots for pet portraits?
Shoot at your pet’s eye level to create intimacy and use backgrounds that complement their colouring. Experiment with various angles and add subtle props to enhance the narrative of the portrait without distracting from your pet’s natural beauty.
What are some tips for ensuring sharp and detailed pet photos?
Focus on your pet’s eyes and use a fast shutter speed to prevent blurring from movement. Start with a setting around 1/500 seconds and adjust ISO settings as needed, taking several shots in quick succession for the best results.
How can I select the best images from my collection of pet photos?
Review your photographs on a large screen, looking for clarity in the eyes, good lighting, and natural expressions. Create a shortlist by eliminating images with technical flaws and focus on those that resonate with you emotionally.
Recommended
- Portrait Photo Preparation for Custom Family and Pet Art – The Family Portrait Companys
- How to Prepare Photos for Portraits: A Practical Guide – The Family Portrait Companys
- Pet Portrait Timeline Steps for Perfect Family Keepsakes – The Family Portrait Companys
- Ordering Pet Portraits Online Guide for UK Pet Owners – The Family Portrait Companys
- Les Chats Beige et Marron : Un Mélange Unique de Charme et de Nature – FéliNature