
How to Frame Custom Portraits for Family and Pets Easily
Over 80 percent of British households display at least one family or pet portrait, yet many struggle to achieve a truly professional look. The right framing process turns a simple photograph into a lasting treasure, blending artistry with careful technique. Choosing durable materials and following expert steps helps protect your memories from fading or damage. This guide offers practical advice for British families who want their framed portraits to stand out as cherished keepsakes for generations.
Table of Contents
- Step 1: Gather Essential Materials And Tools
- Step 2: Select The Ideal Frame For Your Portrait
- Step 3: Prepare The Portrait For Framing
- Step 4: Mount The Portrait Securely Inside The Frame
- Step 5: Check For A Professional, Perfect Finish
Quick Summary
| Essential Insight | Explanation |
|---|---|
| 1. Gather high-quality materials | Use wooden frames, archival boards, and professional mounting supplies to protect your cherished photographs effectively. |
| 2. Choose a frame that complements | Select frames based on colour and style that match your portrait and home decor for a polished finish. |
| 3. Prepare your portrait meticulously | Inspect and clean your photograph carefully to remove dust and ensure it is flat before framing. |
| 4. Use archival mounting techniques | Secure your portrait with acid-free materials to preserve its quality over time and prevent damage. |
| 5. Inspect for a professional finish | Check alignment, clarity, and overall presentation to guarantee your framed portrait looks museum-worthy and is free from imperfections. |
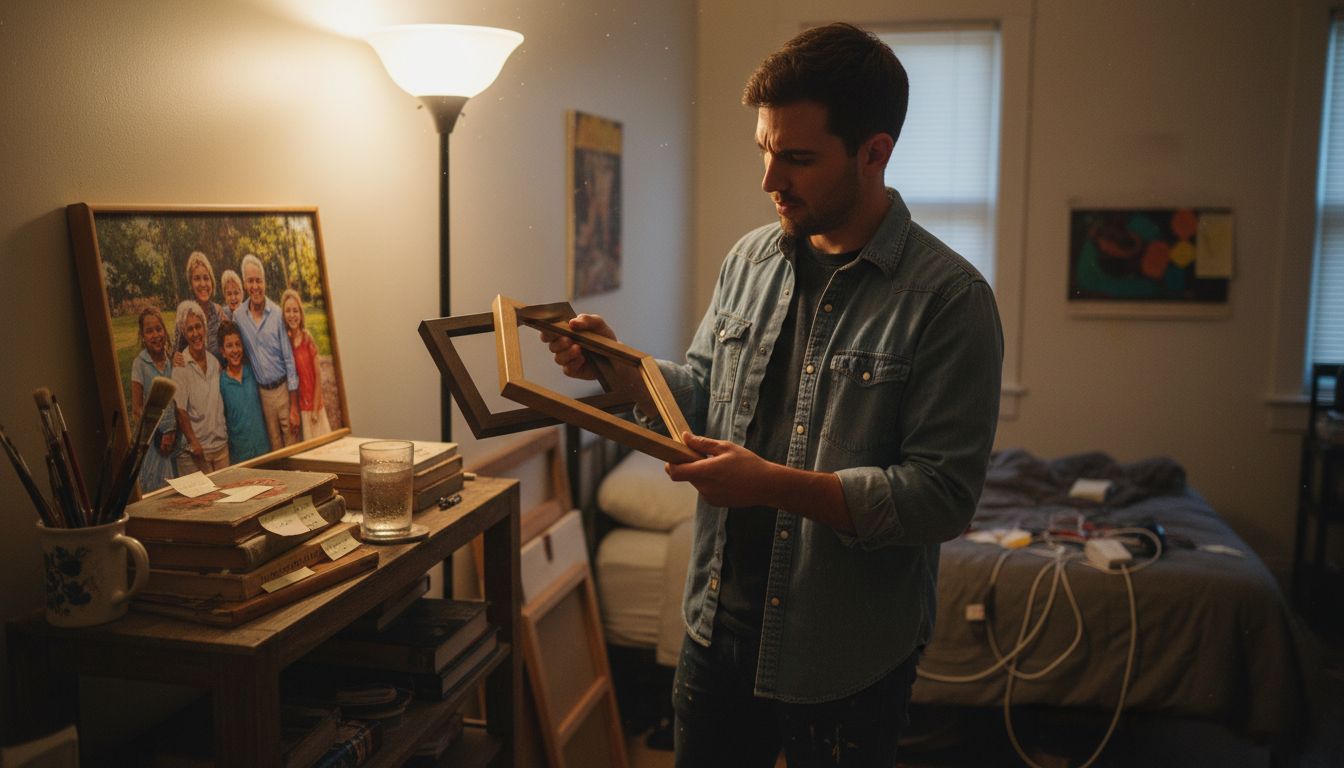
Step 1: Gather essential materials and tools
Framing a custom portrait requires thoughtful preparation. You will need specific materials to transform your cherished family or pet photograph into a beautifully displayed artwork.
First, gather your core supplies: a high-quality wooden frame, archival mounting board, acid-free mat board, professional mounting tape, sharp craft knife, metal ruler, pencil, clean white cotton gloves, and professional framing scissors. Your frame choice matters immensely - select a style and colour that complements both your portrait and your home’s aesthetic.
Careful material selection prevents potential damage to your precious memories. Always handle photographs with cotton gloves to avoid transferring oils or dirt. Professional archival mounting techniques ensure your family portrait remains pristine for generations. Pro tip: Purchase slightly more matting and framing materials than you think you’ll need to account for potential mistakes during the process.
As you prepare your workspace, ensure you have a clean, flat surface with excellent lighting. Good preparation sets the stage for a professional result that will showcase your treasured photograph beautifully.
Step 2: Select the ideal frame for your portrait
Choosing the right frame transforms a simple photograph into a stunning piece of art. Your frame selection will dramatically impact how your cherished family or pet portrait is perceived and displayed.
Consider your interior design and personal style when selecting a frame. Choosing the right portrait frame involves matching the frame’s colour, texture, and width to both your artwork and surrounding decor. Wooden frames offer timeless elegance wood grain variations can complement different interior styles. Metal frames provide a modern, sleek appearance perfect for contemporary spaces.
For family portraits, neutral tones like soft whites, warm browns, or subtle greys work beautifully across multiple rooms. Consider the emotional tone of your photograph darker, richer frames suit formal or vintage images, while lighter frames enhance casual, candid moments. Always measure your portrait precisely before purchasing a frame to ensure a perfect fit. Pro tip: Choose a frame slightly larger than your photograph to create an elegant visual border.
Remember that framing is more than just protection it is about presenting your treasured memory in the most meaningful way possible. Your carefully selected frame will transform a simple photograph into a lasting family keepsake.
Step 3: Prepare the portrait for framing
Preparing your cherished portrait for framing requires precision and careful handling to preserve its quality and sentimental value. This critical step ensures your family or pet photograph will look stunning when professionally mounted.
Start by preserving portrait quality through gentle cleaning and inspection. Use soft white cotton gloves to prevent fingerprint oils from damaging the photograph. Examine the image carefully for any existing creases, dust, or minor imperfections that might need professional restoration. Gently remove surface dust using a soft microfibre cloth designed specifically for delicate photographs.
Ensure your portrait is completely flat and free from wrinkles before framing. For vintage or delicate photographs, consider professional scanning or digitisation as a backup preservation method. If your original photograph has sentimental value, you might want to create a high-resolution digital copy before framing. Measure your portrait precisely and mark gentle guidelines on your mounting board to ensure perfect alignment.
Your meticulous preparation will transform a simple photograph into a treasured family heirloom that will be admired for generations. The next step involves carefully mounting your perfectly prepared portrait into the frame you selected.
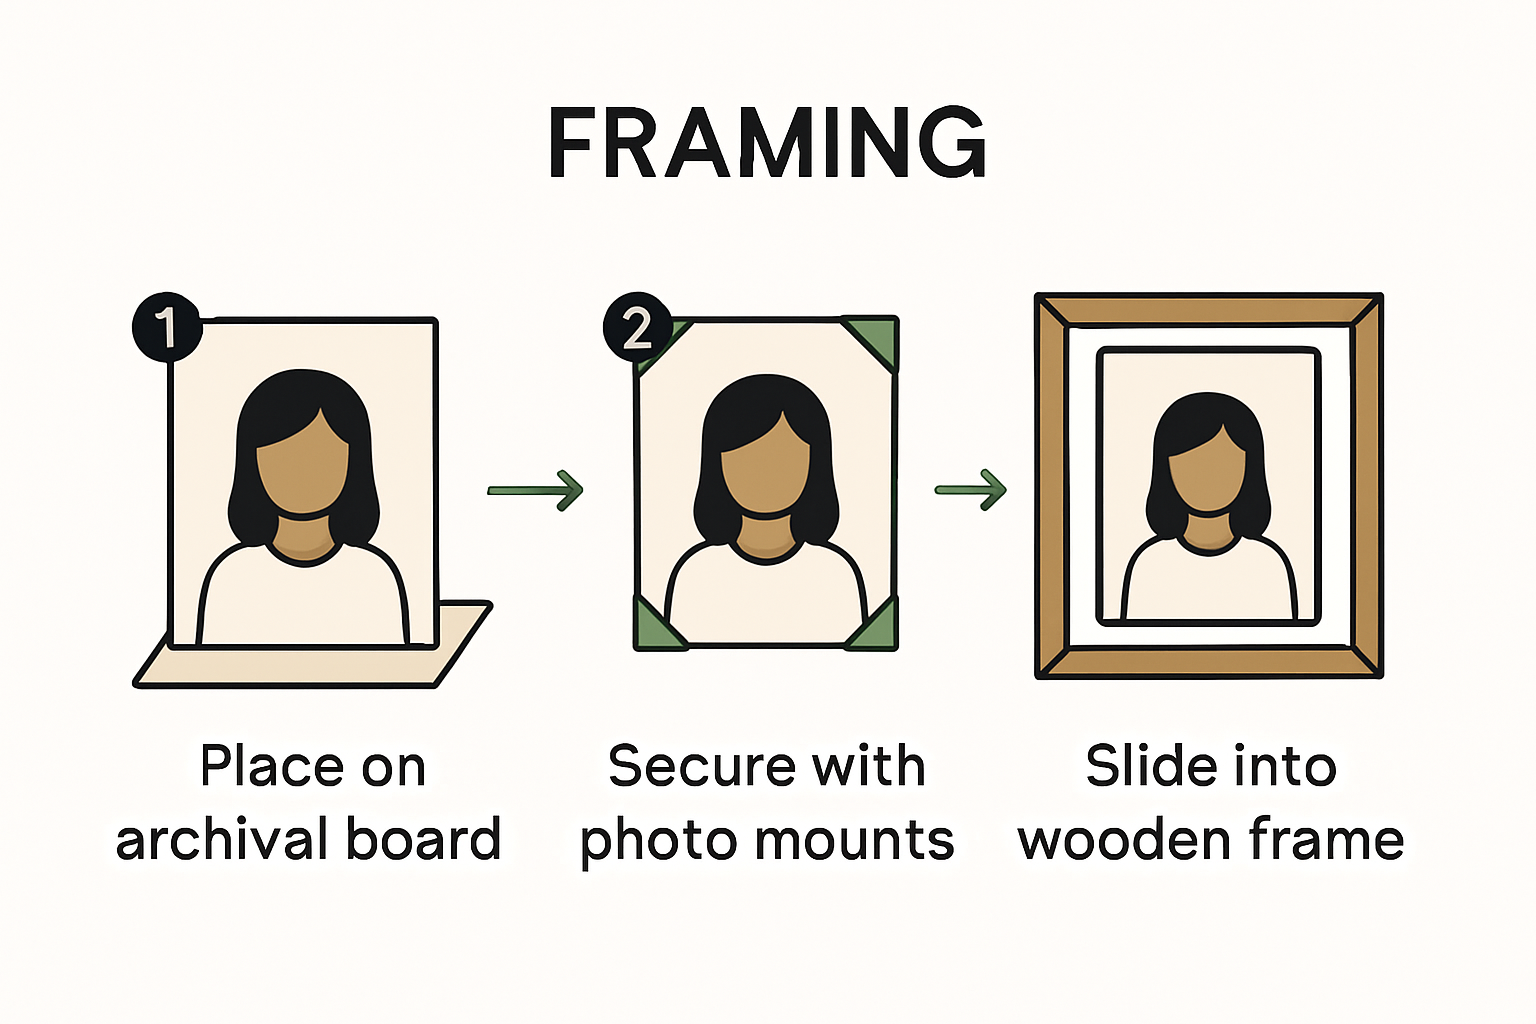
Step 4: Mount the portrait securely inside the frame
Mounting your portrait requires precision and care to ensure your treasured family memory looks perfect and remains protected. This crucial step transforms your carefully prepared photograph into a professional display piece.
Begin by mounting family portraits using archival mounting tape or professional corner mounts. Position your portrait centred on the mounting board with utmost precision. Avoid using standard adhesive which might damage your photograph over time. Instead, use acid-free mounting corners or specialised archival tape that will preserve your image’s integrity. Ensure the portrait sits perfectly level within the frame backing, checking alignment from multiple angles.
Pay close attention to temperature and humidity when mounting. Photographs are sensitive to environmental conditions that can cause warping or degradation. Place your mounted portrait on a clean flat surface and allow it to settle before final frame installation. A pro tip for vintage or delicate photographs use conservation grade mounting materials that prevent chemical interactions which could potentially harm your precious image.
Your meticulously mounted portrait is now ready for the final display. The next stage involves adding finishing touches that will showcase your cherished memory in its most beautiful light.
Step 5: Check for a professional, perfect finish
The final step in your framing journey transforms your carefully prepared portrait into a museum-worthy masterpiece. Achieving a professional finish requires meticulous attention to detail and a systematic approach to quality control.
Carefully inspect your portrait presentation by examining every aspect of the framed artwork. Look closely at the alignment ensuring the photograph sits perfectly centred within the mounting board and frame. Check for any dust particles trapped between the glass and portrait using natural daylight which reveals even the smallest imperfections. Verify that mounting corners are secure and invisible and that no adhesive residue is visible around the edges of your photograph.
Evaluate the overall visual impact of your framed portrait from multiple angles and distances. Stand back and assess the frame’s relationship with surrounding decor. Ensure the glass is crystal clear without any fingerprints or smudges. For delicate or vintage photographs consider using museum grade glass that offers UV protection and reduces glare. A professional finish means every single detail has been considered with care and precision.
Your beautifully framed portrait is now ready to become a treasured family heirloom. Each carefully executed step has transformed a simple photograph into a stunning piece of personalised artwork that will be cherished for generations.
Bring Your Custom Portraits to Life with Expert Framing Solutions
Framing custom portraits for family and pets can be challenging, especially when aiming for a perfect finish that preserves these priceless memories. If you find yourself unsure about selecting the ideal frame or mounting materials or need help transforming your cherished photographs into stunning artwork, we understand your concerns. From choosing the right frame colour and style to ensuring archival-quality mounting, every detail matters to make your portrait a timeless keepsake.

Explore our range of custom pet and human portraits at The Family Portrait Companys Home page where quality and personalisation meet. Don’t risk your treasured images with improper framing; trust our experts to help you showcase your memories beautifully. Visit https://familyportraitcompany.com now to start creating a meaningful and professionally finished portrait that will be admired for generations.
Frequently Asked Questions
What materials do I need to frame a custom portrait for family or pets?
To frame a custom portrait, gather materials including a high-quality wooden frame, archival mounting board, acid-free mat board, professional mounting tape, and a sharp craft knife. Ensure you also have clean white cotton gloves to handle photographs safely and a clean, flat workspace for maximum efficiency.
How do I choose the right frame for my portrait?
Selecting the right frame involves matching the frame’s colour, texture, and width to your portrait and surrounding decor. Consider neutral tones for family portraits or choose a style that complements the emotional tone of the photograph, ensuring it enhances rather than distracts from the artwork.
How can I prepare my portrait for framing?
Prepare your portrait by gently cleaning it with soft cotton gloves and inspecting for dust or imperfections. Make sure the photograph lies completely flat and measure it accurately to mark guidelines on the mounting board for precise alignment during framing.
What is the proper technique for mounting a portrait securely?
Mount your portrait using acid-free mounting tape or professional corner mounts to avoid damaging it over time. Position the photograph in the centre of the mounting board, ensuring alignment from multiple angles, and protect it from environmental factors by ensuring a clean and stable workspace.
How can I achieve a professional finish when framing?
To achieve a professional finish, inspect your framed portrait for alignment, dust, and any visible adhesive. Stand back and assess the frame’s overall visual impact, and consider using museum-grade glass for delicate photographs to ensure clarity and protection from UV light.
Recommended
- Portrait Photo Preparation for Custom Family and Pet Art – The Family Portrait Companys
- How to Personalize Portraits for Your Family and Pets – The Family Portrait Companys
- 7 Inspiring Examples of Human and Pet Portraits for Families – The Family Portrait Companys
- 7 Creative At Home Family Picture Ideas for Pet Owners – The Family Portrait Companys